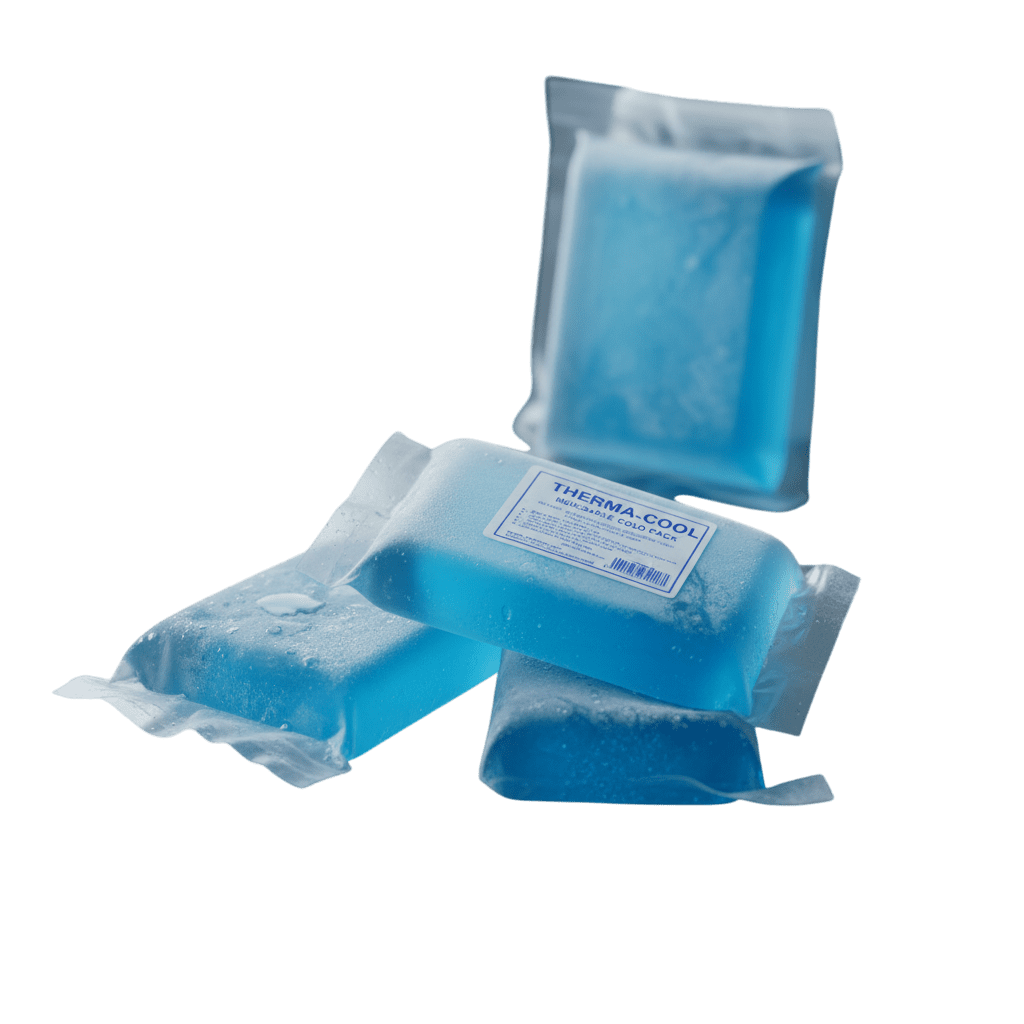
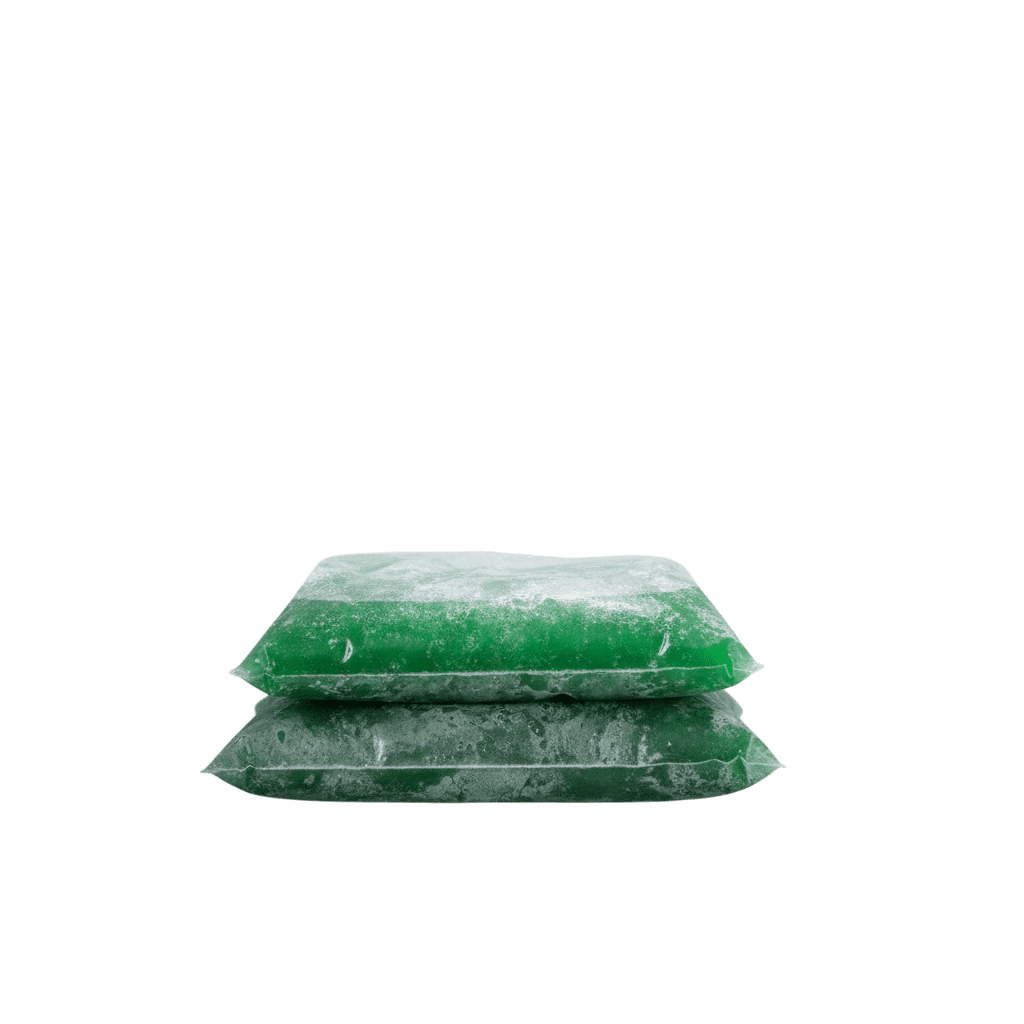
Gel ice packs are reusable cooling packs filled with a flexible gel that stays cold for an extended period. Unlike solid ice, the gel remains soft and pliable even when frozen, making it ideal for first aid, injuries, or keeping food cold.
They’re commonly used for:
Pain relief and injury recovery
Lunch boxes and cooler bags
Travel, camping, and sports
Keeping medications at a safe temperature
Why Make Gel Ice Packs at Home?
DIY gel ice packs are a cost-effective, customizable, and eco-friendly alternative to commercial versions.
Here’s why people prefer homemade versions:
💰 Cost Savings: Make multiple packs for a fraction of store prices.
🌱 Eco-Friendly: Reuse instead of buying disposable options.
🧊 Customizable: Choose your preferred texture and temperature.
🚫 Non-toxic Options: Control ingredients for safety, especially for kids.
⚡ Convenience: Use everyday household items.
Plus, you can experiment with various gels, seal types, and bag materials to find what works best for your needs.
Materials You’ll Need
Before you start making gel ice packs, gather the following supplies:
Item
Purpose
Notes
Resealable freezer bags
Container
Double-bag to prevent leaks
Water
Base
Used in most recipes
Rubbing alcohol or salt
Freezing point depressant
Keeps gel flexible
Dish soap or corn syrup
Gel thickener
Helps achieve slushy consistency
Food coloring (optional)
Aesthetic
Avoid strong dyes for skin use
Tape or vacuum sealer
Sealing
Ensures leak-proof closure
How to Make Gel Ice Packs: Step-by-Step Guide
Step 1: Gather the Materials
Collect all the necessary supplies from the list above. Make sure the resealable bags are freezer-safe and have no holes or weak seals.
Step 2: Choose the Right Gel Base
You can make the gel using various household ingredients. Each has a different texture and cooling duration:
Rubbing alcohol: Creates a slushy, flexible gel.
Dish soap: Forms a thick gel that freezes slowly.
Saltwater: Simple and long-lasting.
Corn syrup or hair gel: Offers a dense, pliable feel.
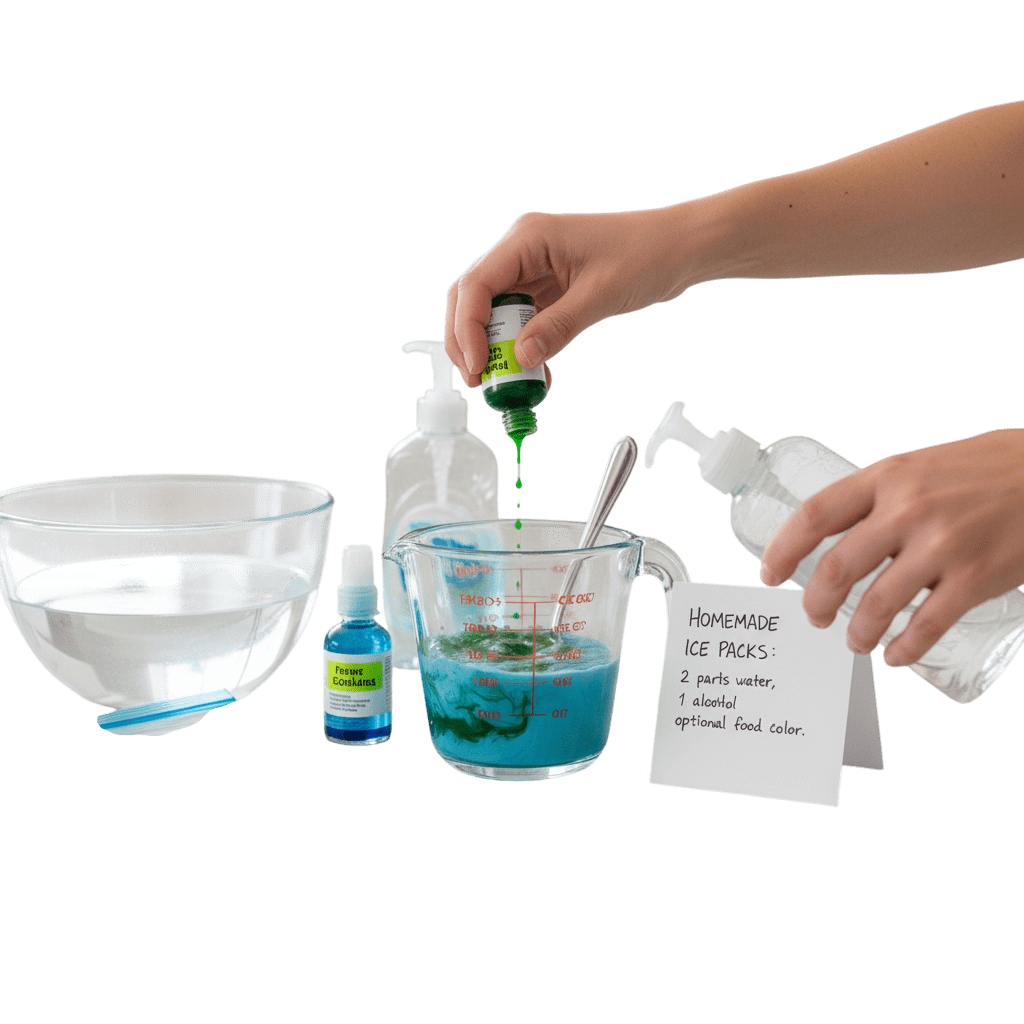
Step 3: Mix and Seal
Combine ingredients in a mixing bowl or directly inside the bag. Remove excess air before sealing to prevent leaks and ensure flexibility. You can also use a vacuum sealer for a tighter closure.
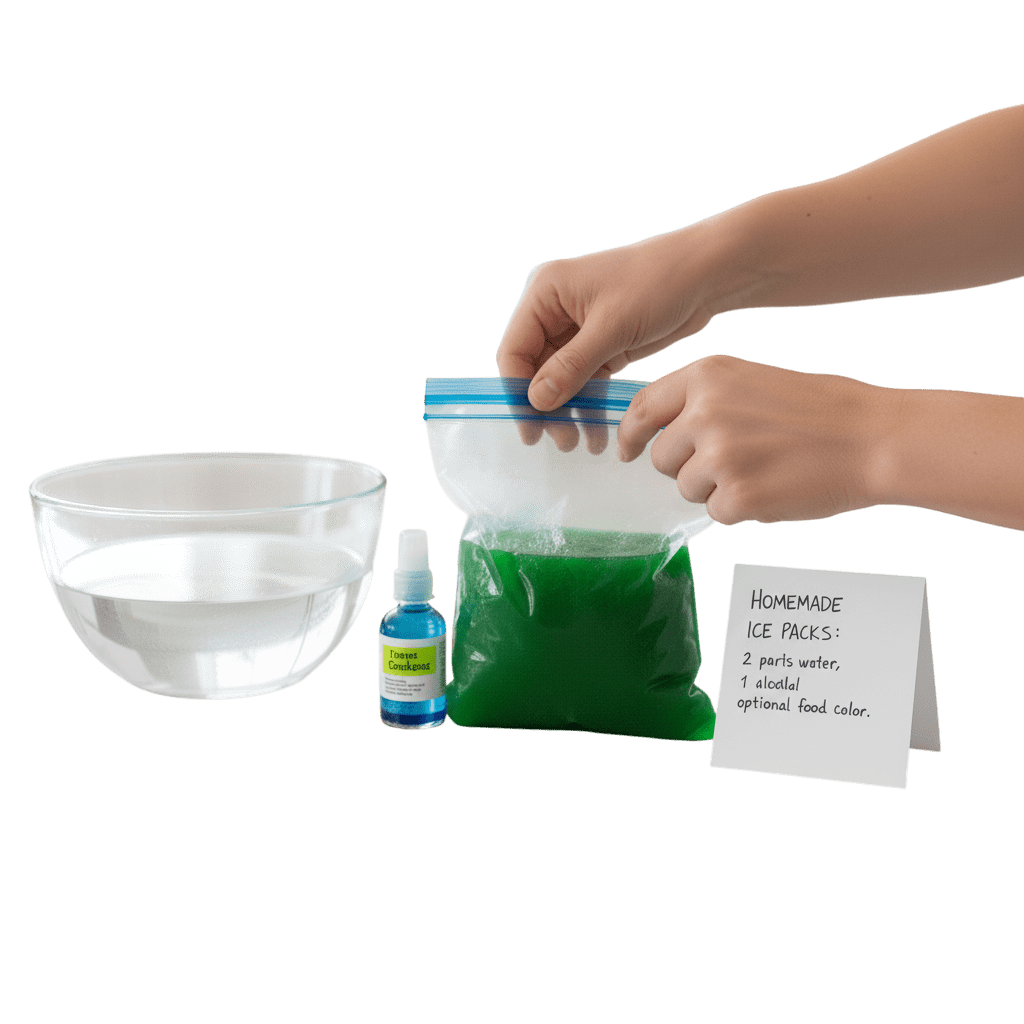
Step 4: Freeze and Test
Freeze the gel ice pack for at least 3–4 hours. Once frozen, test the flexibility by gently pressing it. If it’s too stiff, add a bit more alcohol or salt to soften it.
7 Best DIY Gel Ice Pack Recipes
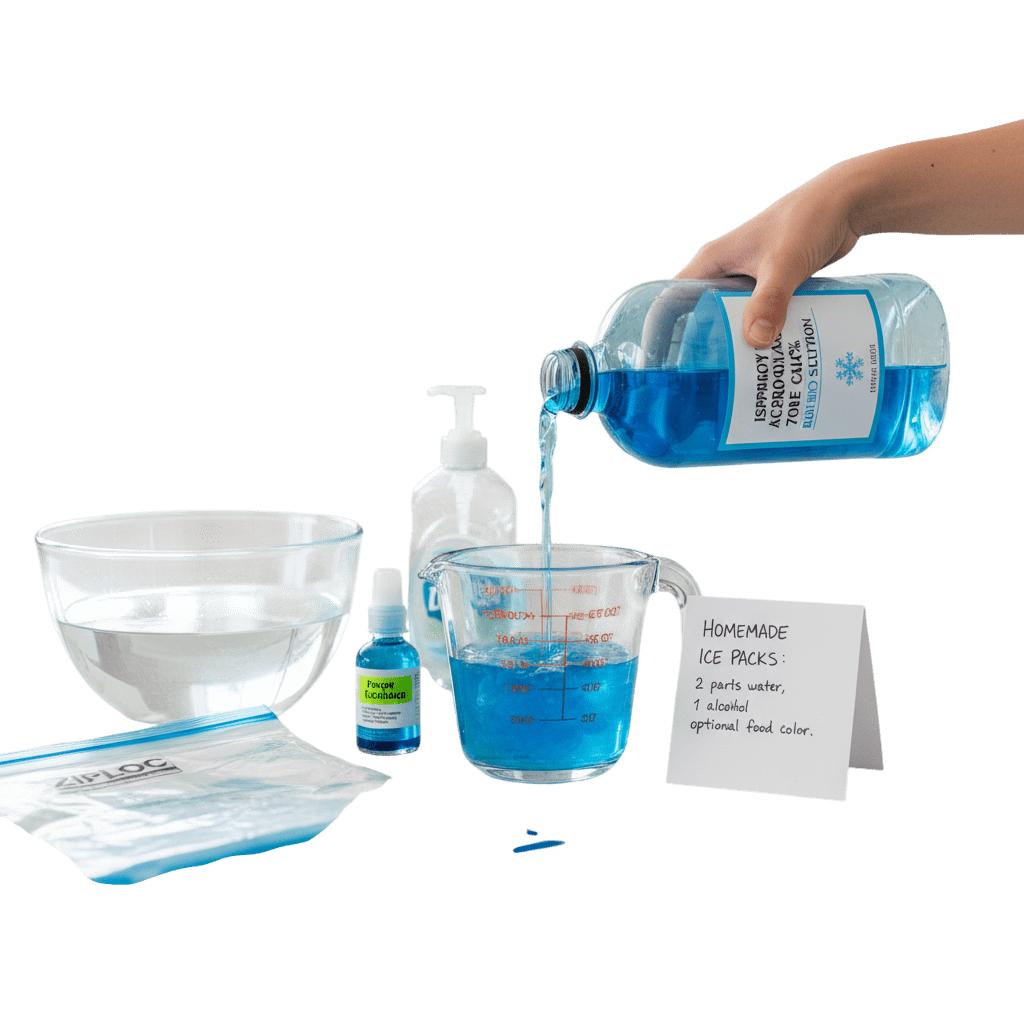
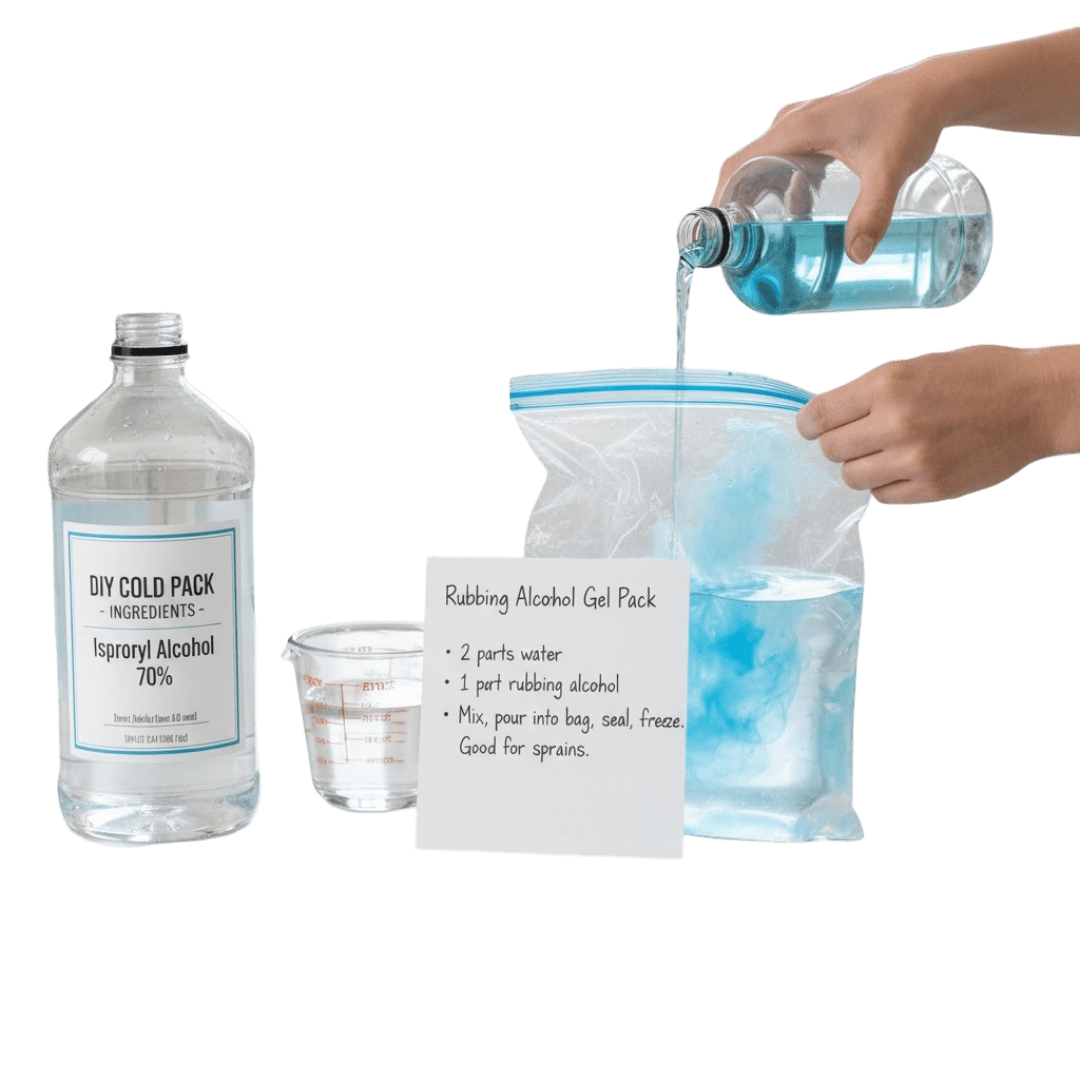
1. Rubbing Alcohol Gel Pack
Ingredients:
2 parts water
1 part rubbing alcohol
Instructions: Mix, pour into a freezer bag, seal tightly, and freeze. Ideal for sprains and bruises.
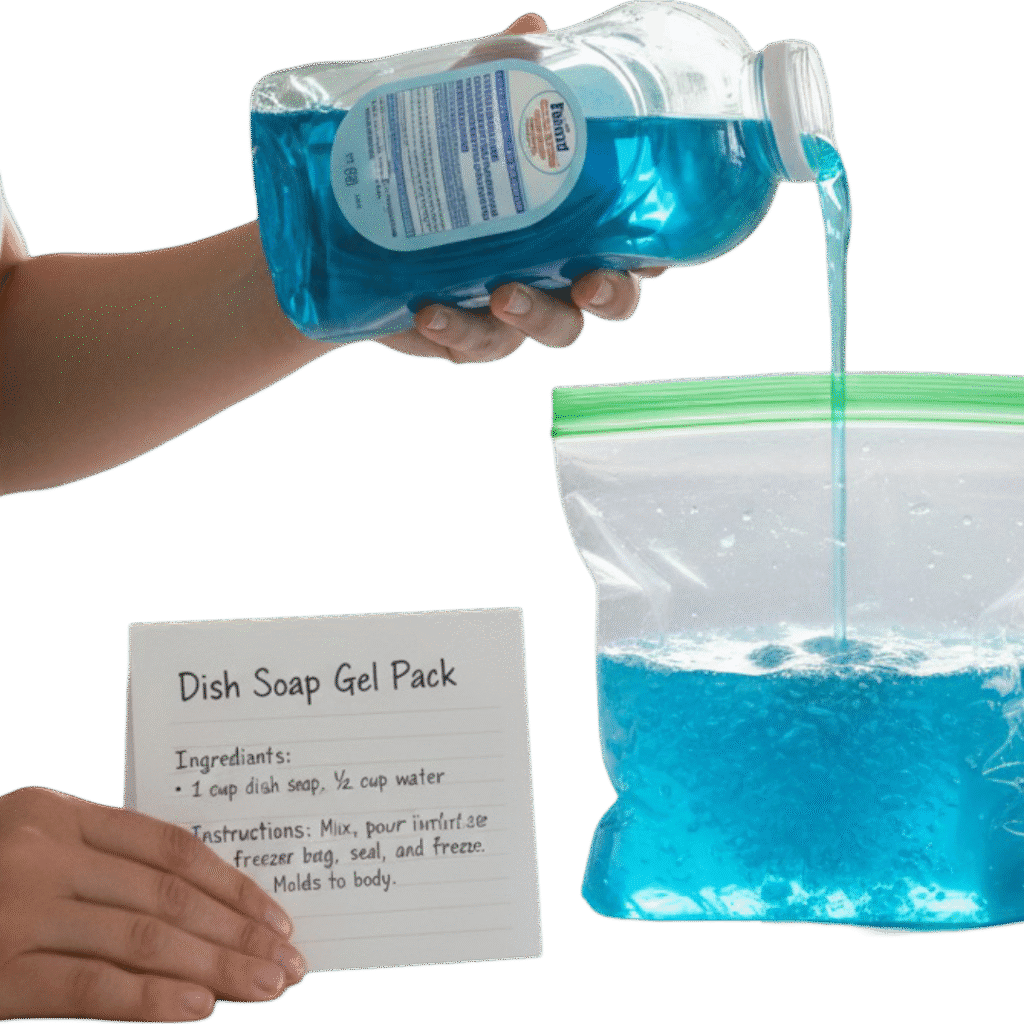
2. Dish Soap Gel Pack
Ingredients:
1 cup dish soap
½ cup water
Instructions: Mix and freeze for a reusable pack that molds to the body.
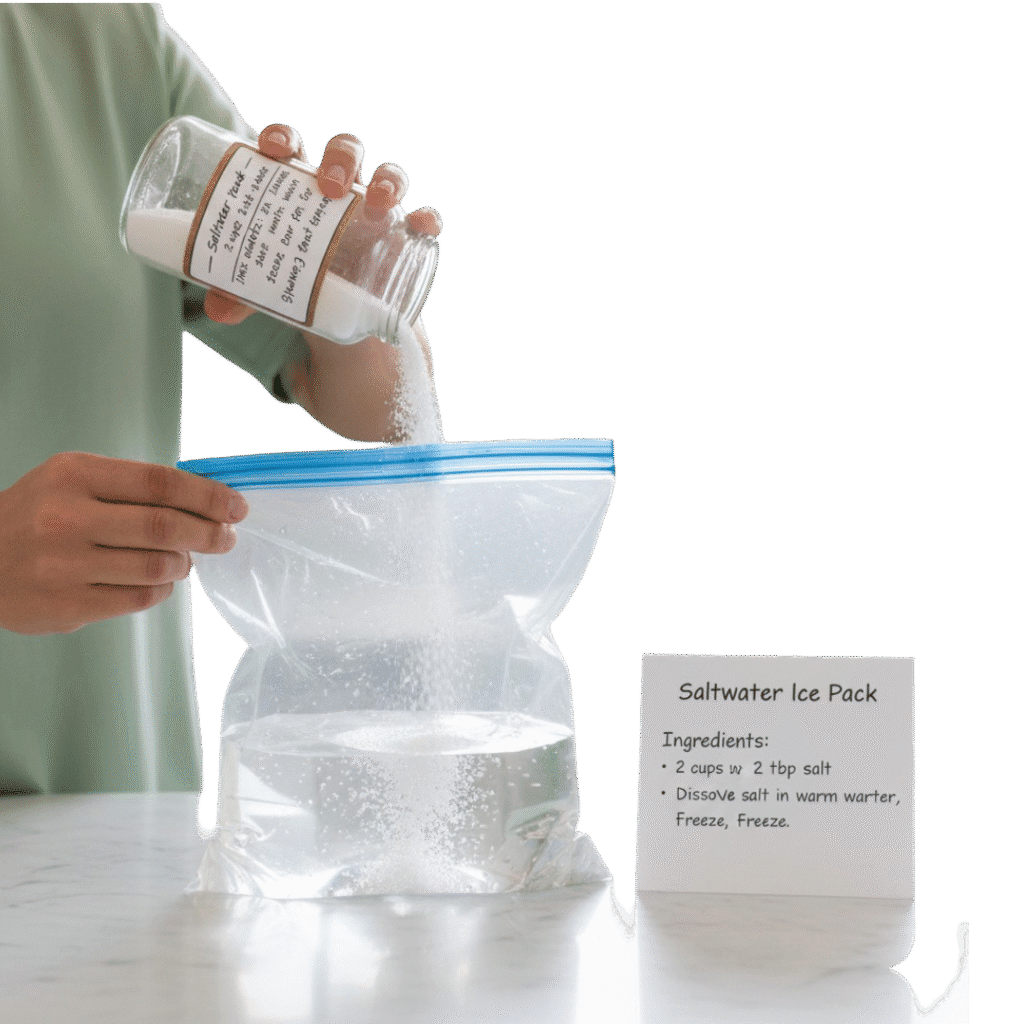
3. Saltwater Ice Pack
Ingredients:
2 cups water
2 tbsp salt
Instructions: Add salt to warm water, dissolve, and freeze. Great for food storage or coolers.
4. Corn Syrup Pack
Corn syrup creates a malleable gel that stays flexible longer. Just pour the syrup into a freezer bag, seal it, and freeze.
5. Hair Gel Pack
Hair gel works as a ready-made cooling agent. Simply transfer it into a bag and freeze. Perfect for quick first aid or muscle relaxation.
6. Aloe Vera Gel Pack
Natural and gentle — ideal for skin applications like sunburn relief. Mix aloe vera gel with 1 tbsp alcohol, seal, and freeze
7. Non-Toxic Baby Lotion Pack
Combine baby lotion and water (1:1 ratio). Freeze overnight for a soft, soothing cold pack — safe for children.
Tips for Proper Storage and Maintenance
Store flat to save freezer space.
Label with the recipe used (especially if making multiple types).
Wipe the surface after each use to maintain hygiene.