When planning a long camping trip, one of the biggest challenges is keeping food and drinks cold for several days. Melting ice in coolers can quickly turn your adventure into a soggy mess if not managed properly. To ensure your food stays fresh, drinks stay cold, and your ice lasts as long as possible, we’ve compiled the most effective strategies to prevent ice from melting quickly during camping
1. Choose the Right Cooler for Maximum Ice Retention
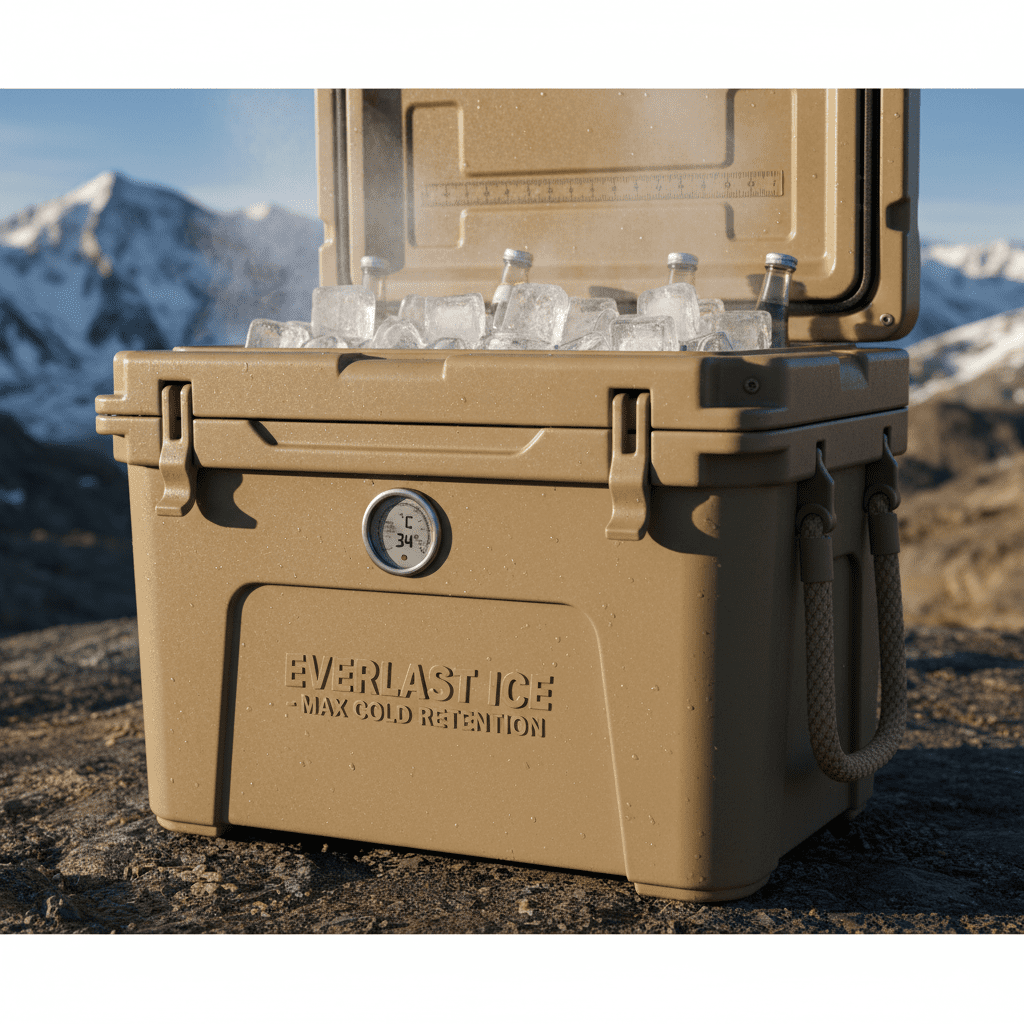
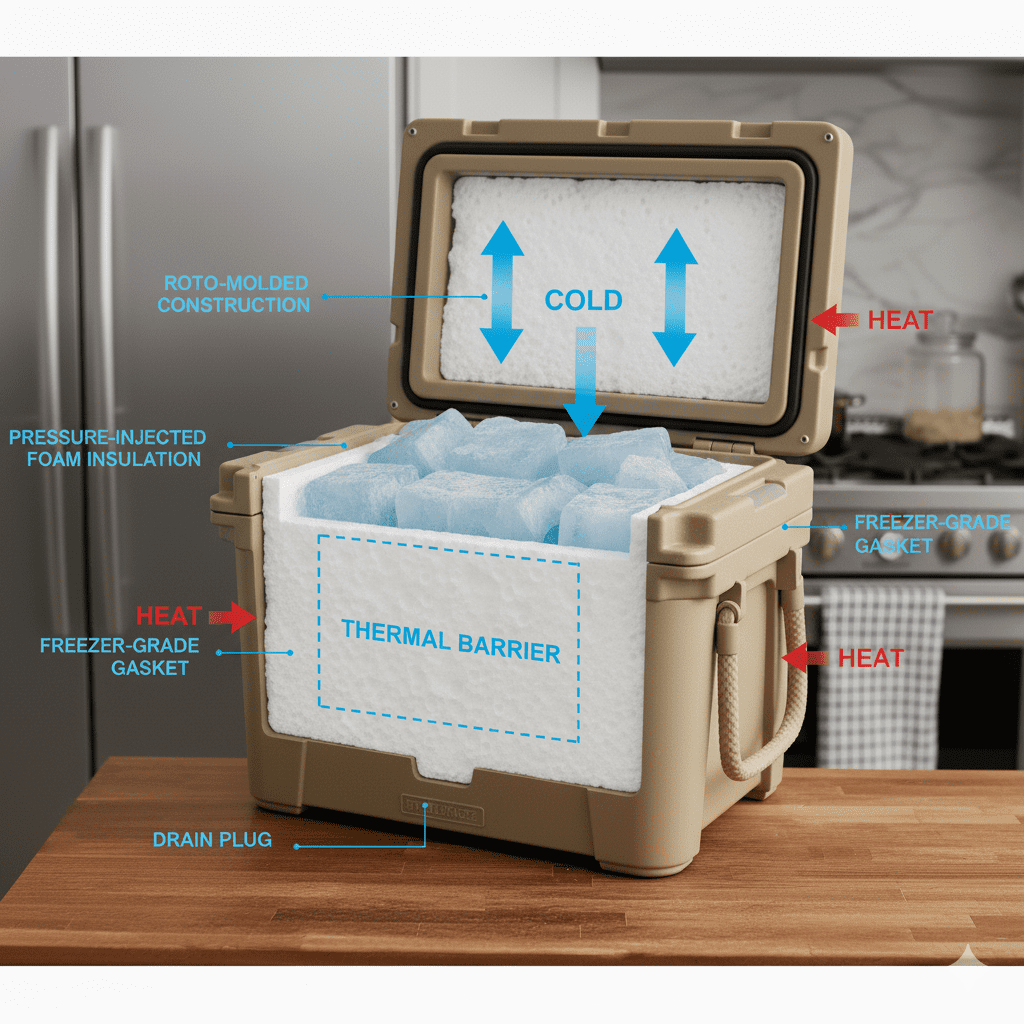
The first step in controlling melting ice is choosing the best cooler for the job. Not all coolers are created equal. High-quality coolers designed for long trips can keep ice frozen for days, even in hot conditions.
Features to Look for in a Cooler:
- Thick insulation: Coolers with thick, multi-layered walls (like rotomolded coolers) offer better temperature control.
- Tight-sealing lids: A good gasket seal prevents warm air from entering.
- Drain plug: Makes it easier to remove melted water without opening the lid.
- UV-resistant material: Helps keep the cooler from heating up in direct sunlight.
Top-performing coolers like Yeti, Coleman Xtreme, or RTIC are known for their long-lasting ice retention. Investing in one of these can save your food and your mood during long camping trips.
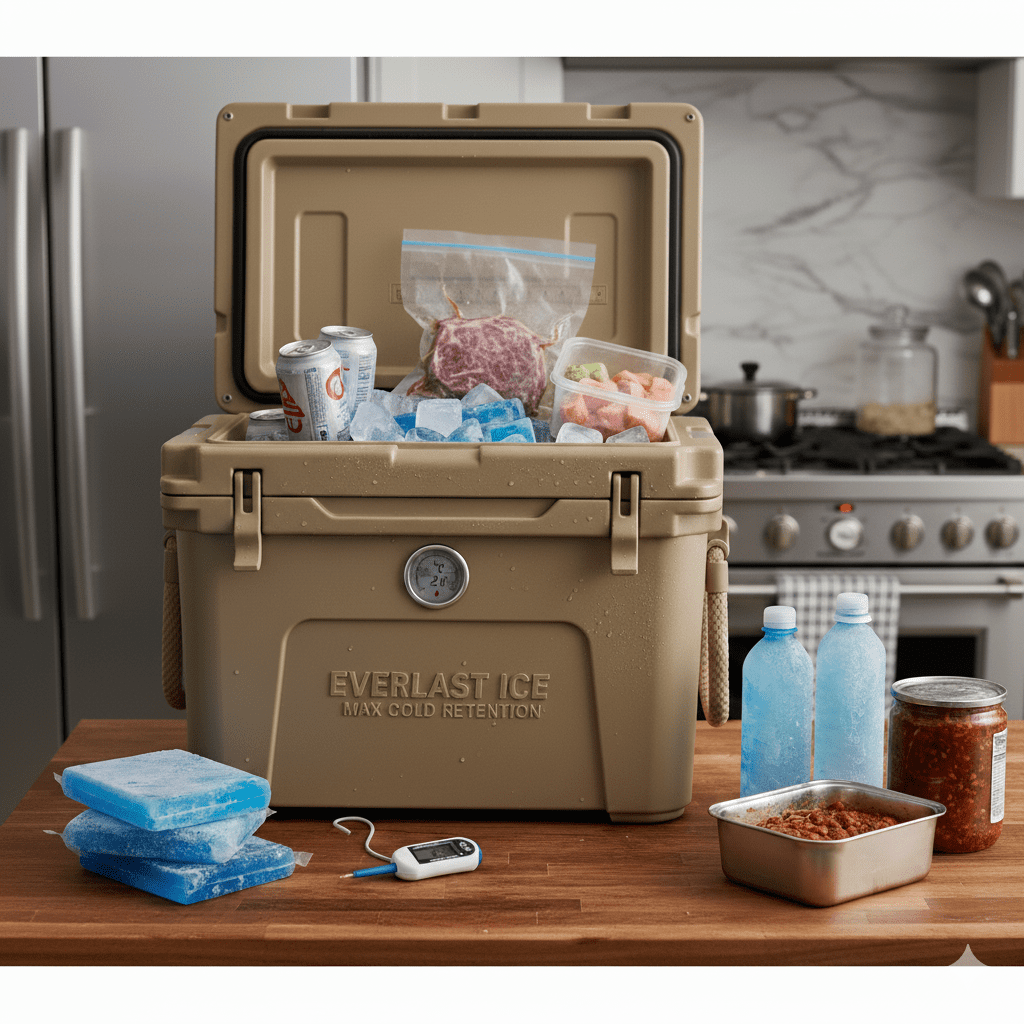
2. Pre-Chill Everything Before Packing
One of the most overlooked steps is pre-chilling your cooler and items before loading. Ice melts faster when it has to cool down warm food or drinks.
Pro Tips for Pre-Chilling:
- Chill your cooler overnight by filling it with ice a day before your trip.
- Freeze water bottles and meals before packing. They’ll act as extra ice packs.
- Cool beverages and snacks in your refrigerator before placing them inside the cooler.
By reducing the initial temperature, you help the ice last longer and maintain a stable cold environment inside your cooler.
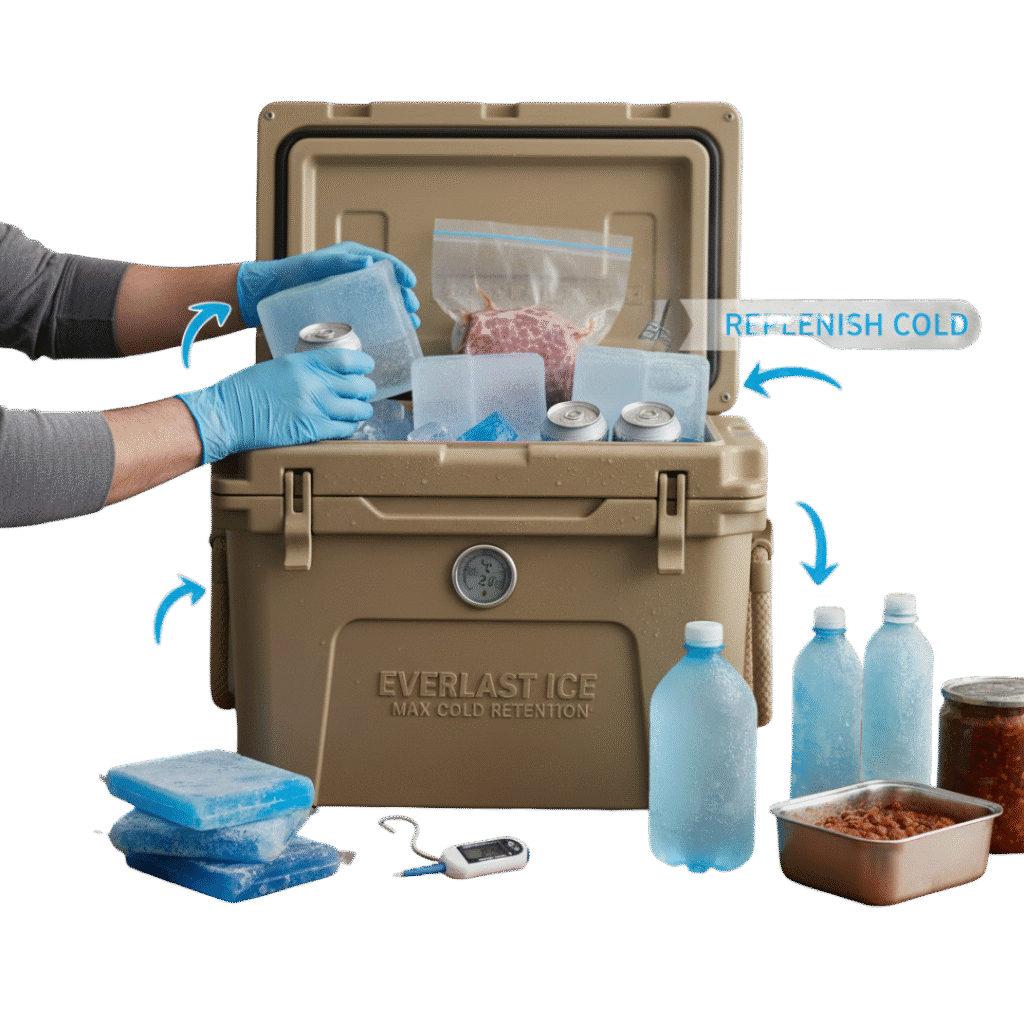
3. Use Ice Blocks Instead of Cubes
When it comes to longevity, ice blocks outperform ice cubes every time.
Why Ice Blocks Are Better:
- Slower melting rate: Larger ice pieces have less surface area, meaning they melt slower.
- Longer cooling effect: They maintain low temperatures over extended periods.
- Less mess: Ice blocks release water more slowly, keeping food drier.
To make your own, freeze water in containers, such as milk jugs or plastic tubs. You can also use store-bought gel ice packs, which are reusable and less likely to leak.

4. Layer Your Cooler Strategically
How you pack your cooler can make or break your ice-retention success.
The Best Way to Layer:
- Bottom Layer: Place ice blocks or gel packs first. This creates a cold foundation.
- Middle Layer: Store perishable items like meat, dairy, or seafood here. Use airtight containers to prevent leaks.
- Top Layer: Add more ice or frozen water bottles. Then, place items you’ll need frequently, such as drinks or snacks.
Finally, fill all empty spaces with extra ice or towels. Air pockets accelerate melting because they allow heat to circulate inside the cooler.
5. Limit How Often You Open the Cooler
Every time the cooler is opened, warm air rushes in and cold air escapes — making the ice melt faster.
Practical Tips:
- Designate a “drinks cooler” and a “food cooler” if you’re camping for multiple days.
- Plan ahead before opening the lid — know what you need and grab it quickly.
- Keep the cooler closed tightly after every use.
The fewer times you open the cooler, the longer your ice will last.
6. Keep Your Cooler Out of Direct Sunlight
Sun exposure is the number one enemy of ice longevity. Keeping your cooler cool and shaded is critical.
Ways to Keep It Cool:
- Store in the shade under a tree, picnic table, or tent.
- Cover with a blanket or reflective tarp to block direct sunlight.
- Elevate it off the hot ground using wood planks or a towel.
By protecting your cooler from heat sources, you can slow the melting process dramatically.
7. Use Salted Ice or Dry Ice for Extended Trips
For extra-long camping adventures, standard ice may not cut it. Try these alternatives for long-lasting cooling.
Salted Ice:
Adding salt to your ice lowers its melting point, making it stay colder longer. To make salted ice, mix rock salt with water before freezing.
Dry Ice:
If your cooler is compatible, dry ice can keep contents frozen for days.
- Wrap it in newspaper to prevent direct contact with food.
- Vent the cooler slightly to allow carbon dioxide gas to escape safely.
- Never handle dry ice with bare hands — use gloves or tongs.
Dry ice is ideal for multi-day trips when you need to store frozen foods like meat or ice cream.
8. Drain Melted Water Wisely
While it might seem helpful to keep the meltwater in your cooler, it can actually speed up the melting process once it warms up.
The Smart Way to Manage Meltwater:
- Drain warm water periodically using the cooler’s drain plug.
- Add more ice immediately to maintain low temperature.
- Keep food in waterproof containers so it stays dry even if water accumulates.
Proper drainage prevents soggy food and helps your ice perform more efficiently.
9. Add Insulation for Extra Cooling Power
Enhancing insulation is a smart way to fight melting.
Try These Tricks:
- Line the inside walls with reflective insulation or foam sheets.
- Cover the top with a towel or thermal blanket for added protection.
- Wrap fragile items with bubble wrap or foil to retain coldness.
The better your cooler is insulated, the longer your ice will last — even in scorching temperatures.
10. Replenish Ice with Frozen Bottles or Gel Packs
On long trips, your ice will eventually melt — but you can extend cooling time by refreezing or replacing it.
Pro Tip:
Freeze plastic water bottles before your trip. As they melt, you’ll have cold drinking water and a backup cooling source. Gel packs also work great because they are reusable and non-messy